Search Content
186 results found with an empty search
- Create an Expense Report in Power Apps using Repeating Tables
In part 1 of Shane’s video series on repeating tables, you will learn how to build an expense report using SharePoint lists as the data source. This demo lays the groundwork for using cascading menus to display results and adding custom functionality in later videos. In this video you will learn about: Power Apps Forms The NewForm function The Collect and ClearCollect functions The ForAll function Link to the video on YouTube: Power Apps Repeating Tables like InfoPath Part 1 - Enter the data Link to the video for Curated Library subscribers: Part 1 - Create the repeating table Key timestamps: 0:00 Intro 2:19 Demo of the solution Shane demonstrates the functionality of his expense report app. The user is able to enter and save expenses by navigating the app with the tab and space bar keys, rather than having to click on each line item. Total expense is automatically calculated. 8:23 Create the solution in Power Apps and insert a form A new app is created in Power Apps and a form is added to display the expense report from SharePoint. 11:32 Put the form in new form mode using the NewForm function and create a new collection using the ClearCollect function The NewForm function is added to the ‘create new expense’ button so that the form is able to be edited. The ClearCollect function is added to the button after the NewForm function in order to create a new collection for every new expense. 13:39 Insert a gallery and use the Patch and Collect functions A gallery is added to display the expense collection. The gallery can be edited and saved through the use of text inputs and icons. The save icon utilizes the Patch, Value, and Collect functions to update the expense collection. 19:33 Add a save button to submit the form to SharePoint using the Patch function The SubmitForm function is added to the ‘save’ button. The ForAll function is added to the OnSuccess for the form. 24:01 Save to SharePoint and demo of the final solution The app is previewed and expenses are saved to SharePoint. Additional learning: Video: Power Apps Repeating Tables like InfoPath Part 2 - View and edit the data Video: Power Apps Repeating Tables like InfoPath Part 3 - Inline editing Do you want to become a Power Apps Rockstar? Check out our different full length training classes at https://training.PowerApps911.com or you can download a working version of the app we built today by subscribing to the Curated Library .
- Recreate the SharePoint LookUp Column functionality in Power Apps
Did you know that you can recreate the SharePoint LookUp Column functionality in Power Apps and avoid all the problems? Learn how to recreate this functionality and do even more with Shane’s demo. In this video you will learn about: The DropDown control The SortByColumns function The LookUp function Link to the video on YouTube: Power Apps SharePoint LookUp Column Link to the video for Curated Library subscribers: Recreate SharePoint LookUp Column like functinality - Relationships Key timestamps: 0:00 Intro 1:06 Open Customize forms in Power Apps directly from SharePoint The Customize forms creates a single screen app with a form. Fields that are not needed are removed from the form. 3:34 Insert a Drop down control in the form and add data from a different SharePoint site collection In the Edit screen, the Department card is unlocked and the field is deleted. A Drop down control is added to the Department card to create LookUp-like functionality. The data source for the Department card is a SharePoint list from a different site collection. Shane troubleshoots two error messages. 8:14 Set the default value and use the SortByColumns function The default value is updated to display different departments. The SortByColumns function is added to alphabetize the data in the Department Drop down control. 10:56 Add a new record to the master list using a dash A new record is added to the master list. The title and manager fields are set to ‘-’ to mimic a blank value. An If function is inserted in the default of the Department Drop down control. 14:53 Open an additional Customize forms in Power Apps directly from SharePoint A label is inserted in the Department card. The LookUp function is added to display a related column. 18:51 Add a button and use the Launch and Lookup functions A button is added outside the form. The Launch and LookUp functions are added to open a record form another list. 21:23 Demo of how to hide the label and button if the form mode is new Shane demonstrates how an If function can be added to either display or hide the label and button depending on the mode of the form. 22:42 Demo of how to switch the custom form back to a default SharePoint form and delete the form Shane demonstrates how to navigate to list settings and form settings to switch the form back to a default SharePoint form or delete the form entirely. Additional learning: Video: Power Apps Lookup Function Do you want to become a Power Apps Rockstar? Check out our different full length training classes at https://training.PowerApps911.com or you can download a working version of the app we built today by subscribing to the Curated Library .
- Use Power Apps to upload a file to a SharePoint document library
With Shane’s super simplified solution, learn how to create a button that uploads a file directly to your SharePoint document library from Power Apps. Includes PDFs, word docs, excel files, images and more. In this video, you will learn about: The Attachment control The Image control The Set function The JSON function base64ToBinary flow formula The EasyUpload.Run action Link to the video on YouTube: Power Apps upload file to SharePoint document library Link to the video and the app download for Curated Library subscribers: Upload a file to SharePoint Document Library Key Timestamps: 0:00 Intro 1:54 Demo of the solution Shane demonstrates the functionality of his ‘Upload a file to a SharePoint Document Library’ app. The button displays all files, rather than a select group of files. 3:51 Create the solution in Power Apps and add the Attachment and Image controls An Attachment control is added to the app and gives users the ability to access all files. An Image control is added to the app and the Last function is used to display the image that has been selected by the user. 6:20 Add a button to the app and utilize the Set and JSON functions A button is added to the app. The Set and JSON functions are added to the button in order to upload a file directly to a SharePoint document library. 9:16 Perform text manipulation to isolate the base64 The Mid, Find, and Len functions are added to the button to isolate the base64. 13:53 Write a flow to get the base64 into SharePoint A base64ToBinary expression is written to reencode the strings. 18:05 Perform additional text manipulation The EasyUpload.Run action is added to the button. 20:07 Demo of the final solution Shane demonstrates the functionality of the final solution by uploading a PDF from the app to the SharePoint document library. He then verifies that the varFileLink has a valid URL. 21:25 Simplify the appearance of the app The code is rearranged and the only remaining visible item on the app is the Attachment control. Additional learning: Video: Power Apps Flow Intro Upload an image to SharePoint using Flow Video: Power Apps upload a file to SharePoint and set the metadata Do you want to become a Power Apps Rockstar? Check out our different full length training classes at https://training.PowerApps911.com or you can download a working version of the app we built today by subscribing to the Curated Library .
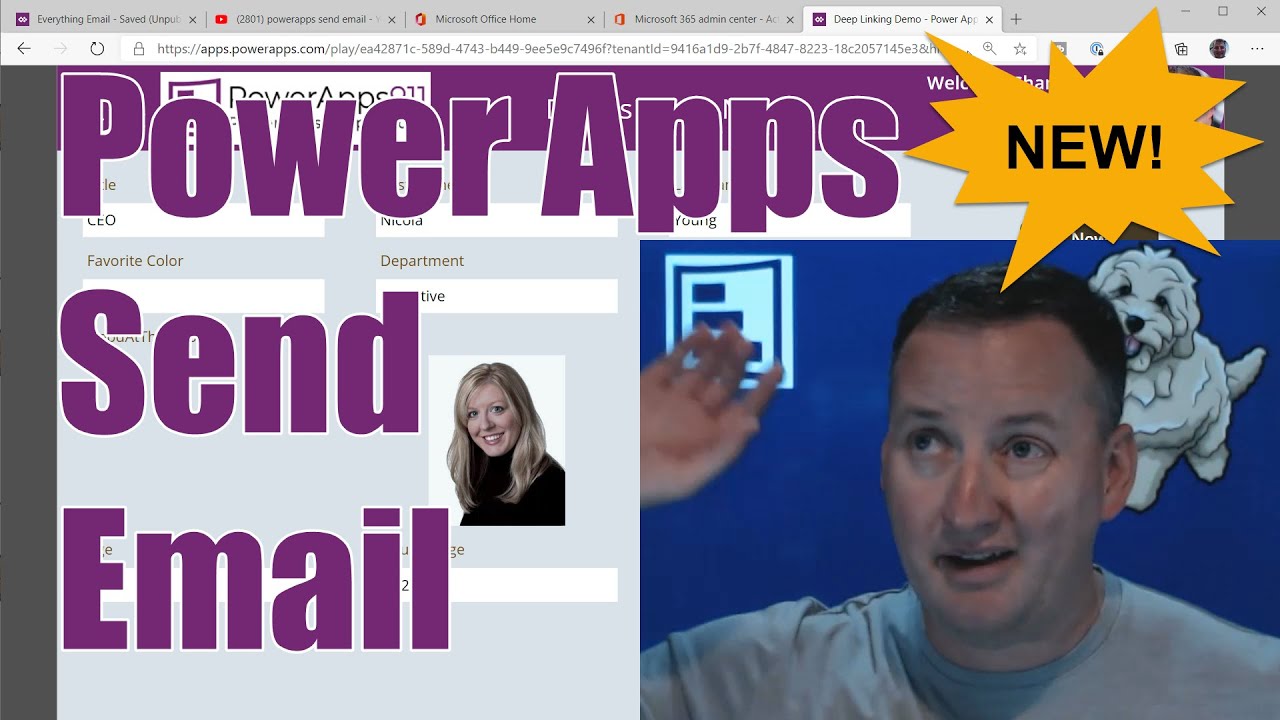
- Send an email from Power Apps via the Office 365 Outlook connector
A full demo of all of the different capabilities when sending an email directly from Power Apps using the Office 365 Outlook connector. This video includes everything from formatting to sending complex emails with attachments. In this video you will learn about: The Office 365 Outlook connector and the SendEmailV2 action Setting To, From, Cc, Bcc, Importance, and more Sending a deep link Sending a dynamic table Sending a signature, image, and logo Link to the video on YouTube: PowerApps Send email - Everything you need to know about sending mail via Outlook and Power Apps Link to the video and the app download for Curated Library subscribers: 8/1/2020 - Power Apps Send Email with the Outlook Connector - EVERYTHING Key timestamps: 0:00 Intro 1:27 Demo of the solution Shane demonstrates the functionality of his app that sends emails with a number of different components. 3:13 Create the solution in Power Apps and add the Office 365 Outlook connector A new screen is created in Power Apps. A button is inserted on the screen and the Microsoft 365 Outlook connector is added to the button. 7:07 Set the To, Subject, and Body Shane demonstrates how to send an email to two people. The subject line can include variables, data lookups, and more. The body of the email can include HTML. 9:03 Set the Bcc, Cc, Importance, and From Shane demonstrates how to set the Bcc, Cc, Importance, and From. The importance defaults to low, and can be changed to normal or high. In order to send an email on behalf of a different email, the user must have the permissions to do so. 12:05 Walkthrough of the buttons in the solution The ‘Send email based on inputs + attachments’ button uses the Concat function. The attachments is an Attachment Control copied from a SharePoint list and allows users to attach a file to an email. 20:28 Walkthrough of the ‘Send a deep link’ button The ‘Send a deep link’ button sends a link that directly opens an app in Power Apps. 22:14 Walkthrough of the ‘Send a dynamic table and signature with image’ button The body of the ‘Send a dynamic table and signature with image’ button is a hard coded link to HTML in an HTML control. The user that clicks this button will have their signature and image, or company logo, included in the email. Additional Learning: Video: PowerApps Email Attachments with the office 365 connector and attachment control Video: Create nested data tables with the PowerApps Concat Function Do you want to become a Power Apps Rockstar? Check out our different full length training classes at https://training.PowerApps911.com or you can download a working version of the app we built today by subscribing to the Curated Library .
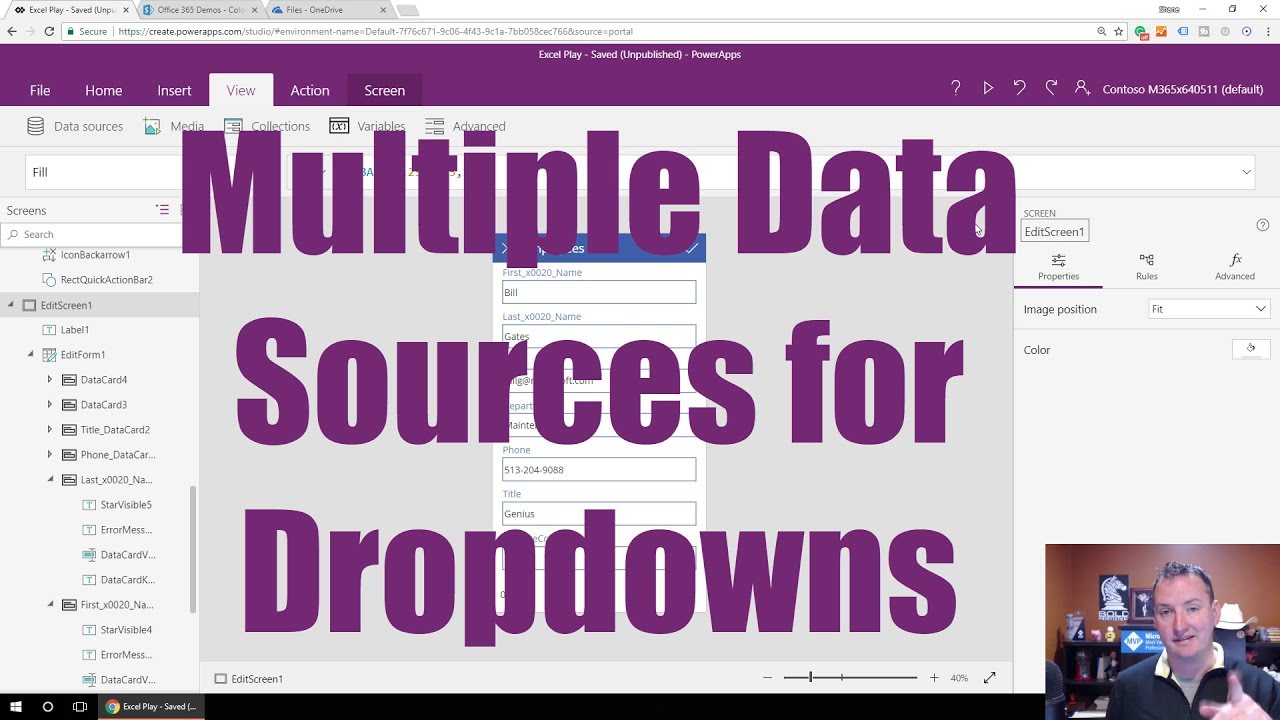
- Add Data Connections to Other Sources in an Existing Power App
Learn how to connect your existing Power App to a SharePoint list and an Excel workbook. By the end of this video your app will utilize Drop down controls with multiple data sources. In this video you will learn about: Adding Drop down controls with different data sources Link to the video on YouTube: PowerApps Multiple Data Sources Link to the video for Curated Library subscribers: Power Apps Multiple Data Sources Key timestamps: 0:00 Intro 1:06 Demo of the solution and remove the Drop down controls and data sources Shane demonstrates the functionality of his employees app. The app includes two Drop down controls. He then removes both Drop down controls and the corresponding data sources 4:05 Add the data sources back to the app An Excel workbook and a Sharepont list are added as data sources. 6:36 Add a Drop down control to the Department card and set the default value In the Edit screen, the Department card is unlocked and the field is deleted. A Drop down control is then added to the Department card. The data source for the Department card is an Excel workbook. Shane troubleshoots two error messages. An If function is inserted in the default of the Department Drop down control. 12:56 Add a Drop down control to the Favorite Color card and set the default value In the Edit screen, the Favorite Color card is unlocked and the field is deleted. A Drop down control is then added to the Favorite Color card. The data source for the Favorite Color card is a SharePoint list. An If function is inserted in the default of the Favorite Color Drop down control. Shane troubleshoots two error messages. 18:52 Demo of the final solution Shane demonstrates the functionality of his employees app with the two Drop down controls that were just created. Additional learning: Video: Learn to connect: PowerApps Excel Spreadsheet hosted in OneDrive Do you want to become a Power Apps Rockstar? Check out our different full length training classes at https://training.PowerApps911.com or you can download a working version of the app we built today by subscribing to the Curated Library .
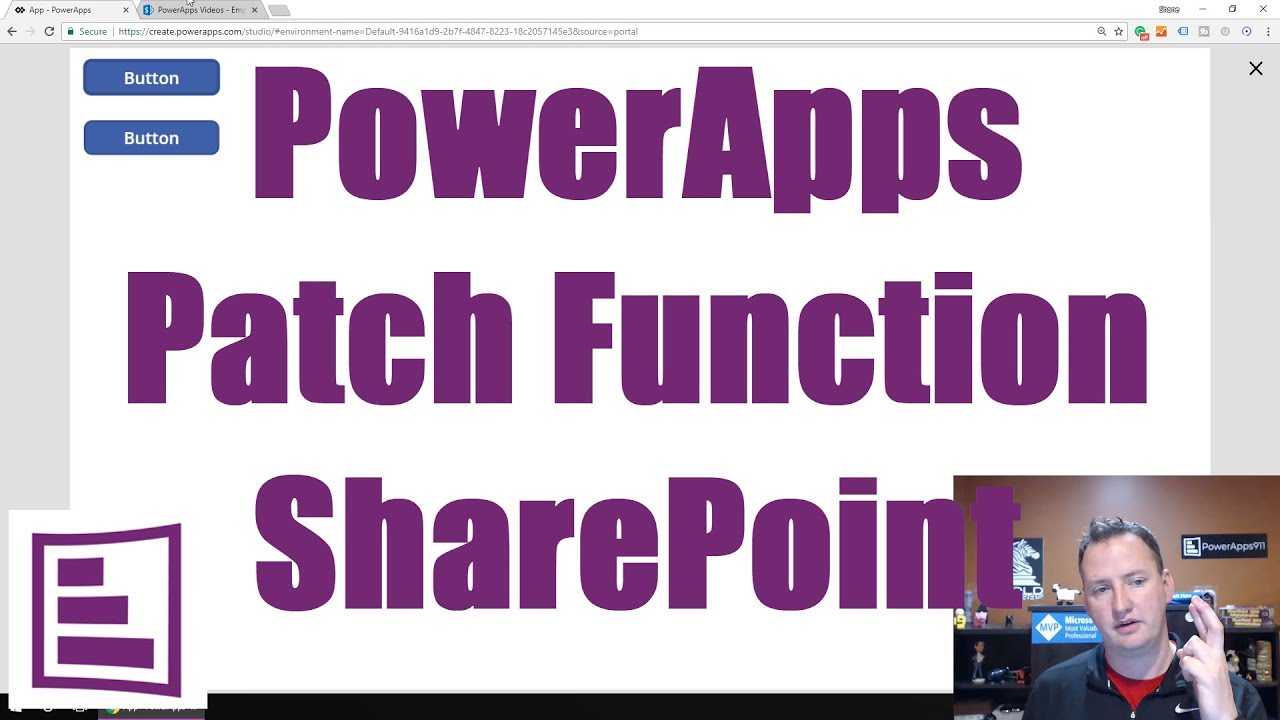
- Use the Power Apps Patch Function with a SharePoint List
Learn how to customize a gallery and use the Patch function directly within a gallery in Power Apps. Shane’s demo shows how to build a gallery that displays employee names, titles, and favorite colors along with cancel, edit, and save buttons. In this video you will learn about: The Patch function The UpdateContext function The Reset function Link to the video on YouTube: Power Apps Patch Function Link to the video for Curated Library subscribers: Power Apps Patch function Key timestamps: 0:00 Intro 1:02 Demo of the solution Shane demonstrates the functionality of his employees SharePoint list in a customized gallery. The favorite color and title fields are able to be edited and saved. 3:03 Create the solution in Power Apps and insert a gallery A vertical gallery is inserted into the app and the Employees SharePoint list is selected as the data source. The title field is customized to include first and last name. A label is added that displays ‘favorite color’ and a drop down control is inserted. An additional label is added that displays ‘title’ and a text input is inserted. 7:56 Add a save button and use the Patch function A button is added that allows users to save their changes in the gallery. The Patch function is utilized to update a single record. 11:08 Add an edit/cancel button and use the UpdateContext function A button is added that users must click in order to be able to edit the gallery. The UpdateContext function is added to the edit button to create a toggle effect. The If function is added to the edit button to allow users to cancel their changes in the gallery. 16:52 Add the UpdateContext function to the save button Upon clicking the save button, the screen reloads and everything resets. 17:52 Add the Reset function to the edit/cancel button Upon clicking the cancel button, changes that the user has made that have not been saved are discarded. 19:43 Demo of how to patch a new record Shane demonstrates the functionality of a button that utilizes the Patch and Default functions to patch a new record. 23:15 Demo of how to write a single record Shane demonstrates the functionality of an additional button that utilizes the Collect function to write a single record. Additional learning: Video: Power Apps Save Data - Patch, Collect and ForAll Video: Power Apps SharePoint Complex Columns - Patch person, choice and lookup fields Do you want to become a Power Apps Rockstar? Check out our different full length training classes at https://training.PowerApps911.com or you can download a working version of the app we built today by subscribing to the Curated Library .
- Microsoft Forms Video Series
In this video series you will learn how to work with Microsoft Forms. The following 3 videos are included in this series: Intro to Microsoft Forms - https://www.youtube.com/watch?v=YgWT9mJKEzk&t=19s Create SharePoint List from Excel MS Forms - https://www.youtube.com/watch?v=9hBeckKMlrg&t=45s Forms and Flow saving data and conditionals - https://www.youtube.com/watch?v=462l8JuJ9xM Working with Forms Intro to Microsoft Forms Microsoft Forms are a great way to electronically gathering information from either an anonymous source or a source that is outside of your organization. In Shane’s Introduction to Microsoft Forms – No more Survey Monkey video, he demonstrates how to create a form and navigate the many different customizable features. You’ll learn what forms are, how to share them, how to view the data that they collect, and much more. Throughout the video Shane also discusses the differences between Microsoft Forms and Microsoft Forms Pro, and the additional options that are available with Forms Pro. Key Timestamps: 0:00 Intro 1:16 Demo of the solutions 5:00 Create a new form and add different types of questions 9:12 Break the form up into sections 10:08 Create branching 11:11 Overview of form settings and multilingual 14:09 Overview of response results, analytics, and insights 17:21 Overview of themes 19:20 Forms within customer scenarios Create SharePoint List from Excel MS Forms In Shane’s Microsoft Forms to SharePoint List: Create SharePoint List from Excel video, he demonstrates how to move data from Forms directly to SharePoint by using Power Automate. The goal is to automatically record form responses in SharePoint each time that a response is submitted. Shane takes the demo a step further by adding an action to send an email in order to notify the recipient of each form response. Key Timestamps: 0:00 Intro 1:49 Demo of the solution 2:57 Create a new list from Excel in Power Apps 6:20 Create a Flow from the ‘Record form responses in SharePoint’ template Forms and Flow saving data and conditionals Learn about the relationship between Microsoft Forms and Flow in the context of a Covid-19 compliance app. In Shane’s Microsoft Forms and Flow – Saving data for a Corona Virus Compliance solution video, he demonstrates how to move data out of Forms and into a data source, and perform conditional logic using Power Automate. In this example SharePoint is used as the datasource. This app is a great example of how the Power Platform can be used to automate processes that were previously performed manually. This video builds off of Shane’s Introduction to Microsoft Forms – No more Survey Monkey video, listed above. Key Timestamps: 0:00 Intro 2:15 Demo of the solution 3:34 Create a branching rule within the form 6:59 Overview of form settings 8:16 Demo of how to send the form 9:00 Create a Flow from the ‘Record form responses in SharePoint’ template 12:23 Test the flow and form 14:37 Add an action to the flow to be notified if anyone says yes
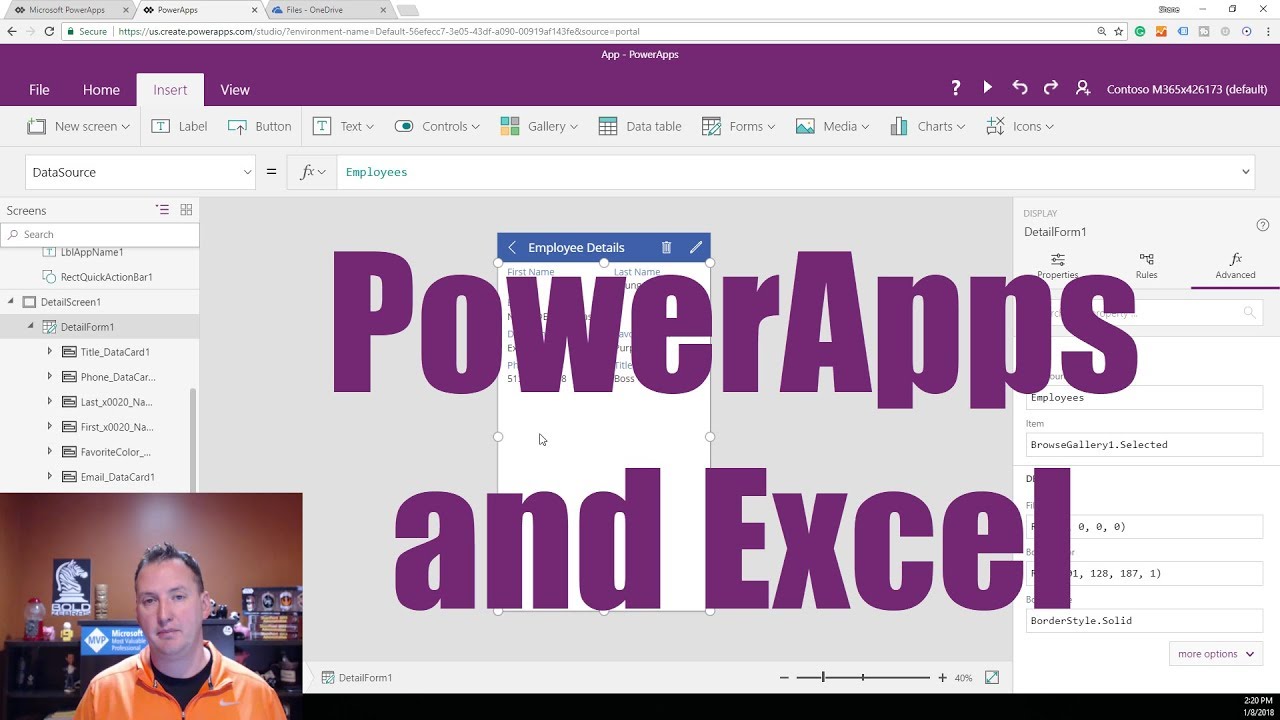
- Build an App Using Excel as a Data Source
Learn the basics of storing an Excel spreadsheet in OneDrive for Business and using this as a data source for Power Apps. This video lays the groundwork for being able to build more complex apps. In this video you will learn about: Adding an Excel spreadsheet to OneDrive for Business The ColorValue function Detail Form Edit Form Browse Gallery Link to the video on YouTube: Learn to connect: Power Apps Excel Spreadsheet hosted in OneDrive Link to the video for Curated Library subscribers: Learn to connect Power Apps Excel Spreadsheet host Key timestamps: 0:00 Intro 1:13 Create the solution in Power Apps 2:40 Format the Excel spreadsheet Shane formats the data in his Excel spreadsheet as a table in order for it be used as a data source. He then gives the table a name to make it easier to be referenced in Power Apps. 3:57 Add the Excel spreadsheet to OneDrive for Business The Excel spreadsheet is added to OneDrive and connected to Power Apps, which results in the creation of an app. 5:26 Demo of the solution The app is previewed and the title field on the edit screen is modified. This modification is also reflected in the Excel spreadsheet in OneDrive. 6:32 Customize the app and use the ColorValue function Title field is customized to include first and last name. The ColorValue function is added to the body field to display colored text based on favorite color. 11:49 Navigate the different screens in the app and perform additional customizations using Detail Form and Edit Form Legacy field is removed and the remaining fields are sorted via the Detail form. The first name and last name forms are unlocked and their display names are modified. The fields are sorted via the Edit form. 16:34 Sort the data using Browse Gallery Change the data to sort by the first name field instead of the department field via Browse Gallery. 18:08 Save and publish the app Name the app, select an icon for it, and save it to the cloud. 20:32 Demo of the solution through the Power Apps mobile app Additional learning: Video: Power Apps Multiple Data Sources Do you want to become a Power Apps Rockstar? Check out our different full length training classes at https://training.PowerApps911.com or you can download a working version of the app we built today by subscribing to the Curated Library .
- Power Apps Search Function
An introduction to the Power Apps Search function and how to use it to create a search box. Lots of good little details to get you off and running with the Search function. In this video you will learn about: The Search function The ShowColumns function Link to the video on YouTube: Power Apps Search Function Link to the video for Curated Library subscribers: Power Apps Search Function Key timestamps: 0:00 Intro 1:06 Create the solution in Power Apps and insert a gallery to build the search box The search box is composed of a gallery and a text input. The Search function is added to the gallery to reference what users type in the text input against the Employee Details 4:54 Nuances of the Search function The search box uses text and performs a case insensitive search. Multiple columns can be searched at once. 6:36 Explanation of what the blue circles mean and an overview of delegation The blue circles appear within the app due to delegation. The SharePoint data connection does not fully support the Search function, and instead Power Apps only returns 500 items at a time. 9:36 Explanation of what the Search function returns The Search function returns a table, and not text. 10:21 Utilize the Search function and ShowColumns function with a Drop down control The ShowColumns function is needed in addition to the Search function when working with a Drop down control. 12:10 Troubleshooting error messages The blue wavy lines only appears on the first item. 14:43 Demo of an app from a SharePoint list & how to fix it The Filter function must be modified in order for the search functionality to work with the SharePoint list. Additional learning: Video: Learn to use the Power Apps Filter function Do you want to become a Power Apps Rockstar? Check out our different full length training classes at https://training.PowerApps911.com or you can download a working version of the app we built today by subscribing to the Curated Library .
- Power Apps Forms Video Series
This video series will teach you everything you need to know about Power Apps Forms . These videos will not only get you started working with Forms, but will teach you more advanced concepts that you need to produce complex forms. The following 7 videos are included in this series: Intro to Power Apps Forms - https://www.youtube.com/watch?v=yT4gGVunU0o Power Apps Form Modes - https://www.youtube.com/watch?v=BnzaSDYl8mA Forms Unsaved, Updates & Last Submit - https://www.youtube.com/watch?v=N8DWvS7P9lw Power Apps Form OnSuccess - https://www.youtube.com/watch?v=q2bhlBAqN_E&t=30s Customize your Forms like InfoPath - https://www.youtube.com/watch?v=5vVFgaEBYuM Power Apps Tabs - https://www.youtube.com/watch?v=if_mFIfi5PM&t=24s SetFocus & Scroll up Form - https://www.youtube.com/watch?v=dDsY3kap0rw What are Forms? A Form is a prebuilt interface used to display details of a record, edit details, and create new records. Why use Forms? Forms talk directly to your data source and builds out any requirements that exist within your data source. Once the requirements have been built out, Cards can be customized and functions can be utilized to affect the entire Form. A few functions that you will learn to work with in this video series are EditForm, ResetForm, ViewForm, SubmitForm, and NewForm. Working with Forms Intro to Power Apps Forms One of the first steps to take when getting started with Forms is to add a gallery to your blank screen in Power Apps. The gallery will display a data source of your choice, and the form will display one record of that data source. Shane uses SharePoint as a data source throughout this video series, but any data source will work. There are two form options to choose from: an Edit Form and a Display Form. Display Forms are used to display data, while Edit Forms are customizable and their modes can be changed. The number of columns, size of cards, order of cards, and more can all be altered in an Edit Form. Fields can easily be added and deleted depending on the content that you want your users to see. Shane's first video, Power Apps Forms – Introduction to data sources, data cards, and layout , will lay the groundwork for you to be able to build your first form and for the rest of the video series. Key Timestamps: 0:00 Intro 1:24 Add a vertical gallery 2:21 Overview of Edit vs Display Form and add an edit form 3:57 Set the item property 4:26 Overview of pop out menus and demo of snap to columns 10:22 Customizing Fields and cards Power Apps Form Modes Forms can be put into and taken out of New, Edit, and View modes. This can be done via the NewForm , EditForm , and ViewForm functions. In Shane’s Power Apps Forms – Form Mode video, he demonstrates how to put a form in each of these three different modes by utilizing a button per function. One thing to keep in mind here is that buttons must be added outside of the form itself. The SubmitForm function is used to create a ‘Submit or Save’ button that either saves a completely new record that has been created or updates an existing one. The ResetForm function is used to create a ‘Reset’ button that resets the form back to its default. Key Timestamps: 0:00 Intro 1:30 Add labels to the screen to display the form mode and form display mode 4:13 Change the default mode of the form 5:42 Add a button to change the form mode using the EditForm function 7:08 Add a button to cancel being in edit mode using the ViewForm function 7:58 Display the cancel button depending on what mode the form is in with an If function 9:50 Modify the If statement 11:22 Add a button to put the form in new mode using the NewForm function 12:12 Difference between form mode and form display mode 15:44 Add a button to submit the form using the SubmitForm function 16:45 Reset the form back to default using the ResetForm function 18:17 Overview of item property Forms Unsaved, Updates & Last Submit When working with Forms, you have the opportunity to use a few unique properties. The Unsaved property lets you know if edits have been made but not yet saved. The LastSubmit property contains the record of the last item that the form submitted. The Updates property shows values we pushed to our list. Shane demonstrates how to use all of these properties in his Power Apps Forms – LastSubmit, Updates, Unsaved video. Key Timestamps: 0:00 Intro 1:05 Add the Unsaved property and warning text 5:04 Disable the save button while there are unsaved changes using the Unsaved property 7:31 Add the Last Submit property to show info that was just submitted 12:25 Add the Updates property Power Apps Form OnSuccess This video will teach you how to avoid common errors and the correct way to use three different properties with Forms. The OnSuccess property triggers a behavior after a form has been submitted. The OnFailure property triggers when a form fails to submit. The OnReset property triggers each time that form is reset. In Shane’s Power Apps Form OnSuccess, OnFailure, OnReset video, he demonstrates how to use these 3 properties and how to send an email every time that a change is saved in a form. Key Timestamps: 0:00 Intro 1:20 Add a button that sends an email via Office365Outlook.SendEmailV2 in the OnSuccess 4:42 Add the ResetForm to the OnSuccess property 5:04 Use LastSubmit to include a specific field in the email 6:50 Overview of OnFailure and OnReset Customize your Forms like InfoPath Forms can be customized to look like InfoPath . In Shane’s Power Apps Custon Forms to look more like InfoPath video, he demonstrates how to add headers and subsections, get fill colors, set borders, disable fields depending on the user, and more. This video will teach you numerous tips and tricks to get your forms looking more like InfoPath . Key Timestamps: 0:00 Intro 1:25 Demo of the solution 1:57 Start with a blank tablet layout and add a gallery 2:59 Create a second screen, add a form, and remove unnecessary fields 5:08 Add a header to the top of the form/screen 6:50 Add a custom card to break the form up into sections 8:49 Wrap text in a notes field via mode 10:46 Make a field not editable and hide an entire card depending on the user 14:02 Create a third screen for app notes and fill screens via a color code 17:54 Add submit and cancel buttons 20:37 modify border thickness 22:06 Duplicate the screen Power Apps Tabs In Shane’s Power Apps Tabbed Form video, he demonstrates how to create a tabbed form that creates a much more user friendly experience. The purpose of a tabbed form is to get an entire form onto one screen, completely eliminating the need for your users to scroll in order to be able to complete a form. This video will teach you how to create a single screen with multiple tabs for separating different sections of a form. Key Timestamps: 0:00 Intro 1:38 Demo of the solution 3:44 Walkthrough of the solution 8:52 Start with a blank screen, add a gallery, and add a form 9:56 Add 3 buttons to create the tab functionality 11:48 Set the OnSelect using the Set function and set the DisplayMode using an If function 13:04 Set the DisabledFill and BorderThickness properties 17:35 Set the visible fields for each button 23:03 Add an icon to save the form using the SubmitForm function and add an icon for a new form using the NewForm function SetFocus & Scroll up Form Adding scrolling functionality within a form is one way to better your users overall experience. In Shane’s Power Apps SetFocus and Scroll to top of a Form video, he demonstrates how to use the SetFocus function in order to scroll to the top of a form once it has been submitted. The SetFocus function can also be used to send your users cursor where you want it to go. This functionality is great for directing users to a specific place within the form or drawing their attention to something that might otherwise be easily overlooked. Key Timestamps: 0:00 Intro 0:44 Demo of the solution 1:29 Overview and nuances of the SetFocus function 3:23 Use the SetFocus function to scroll to the top of a form 4:16 Use the SetFocus function to scroll to the top of a form that does not have text inputs
- SharePoint and Power Apps Video Series
In this video series you will learn how to work with SharePoint and Power Apps. The following 5 videos are included in this series: Learn Power Apps - https://www.youtube.com/watch?v=BnYe_7fpZRM SharePoint Custom Forms Power Apps - https://www.youtube.com/watch?v=Badj3_T8zAw&t=1s Patch SharePoint Columns - https://www.youtube.com/watch?v=gsk14D-CYRE&t=2s SharePoint Columns vs. Power Apps - https://www.youtube.com/watch?v=mwXnJUkTug0 SharePoint Approval Flow - https://www.youtube.com/watch?v=3shHcIgjxH4 Working with SharePoint Learn Power Apps If you are new to Power Apps, this is the video for you! In Shane’s Power Apps with a SharePoint List – Learn Power Apps Tutorial video, he demonstrates how to use Power Apps to create an app with SharePoint as the data source. You will learn how to build your first Power Apps app and perform customizations to the different screens, columns, fields, and more. This video lays the groundwork for being able to make more complex Power Apps. Key Timestamps: 0:00 Intro 1:09 Create a new phone layout SharePoint app 3:54 Preview the app 5:14 Access the data controls in order to be able to edit the app 6:24 Modify the color column with the ColorValue function 9:10 Sort the screen by a different field using the SortByColumns function 10:26 Modify the fields in the editscreen 13:09 Overview of app settings and save the app 14:43 Preview of the app on mobile SharePoint Custom Forms Power Apps Create a better experience for your users by building and utilizing a custom SharePoint list form in Power Apps. In Shane’s Custom SharePoint List Form with Power Apps video, he demonstrates how to use Power Apps to get started with customizing SharePoint list forms. This video lays the groundwork for building more complex list forms in future videos. You’ll learn how to edit fields, add a button, and more. Shane also covers the SharePoint Integration capability. Key Timestamps: 0:00 Intro 1:30 Create a new custom form in Power Apps, and save and publish the app to SharePoint 4:28 Walkthrough of different form modes 6:33 Hide unnecessary fields in the form via the Visible property 9:14 Refresh the SharePoint page to show new changes 10:45 Document changes made in a new screen 12:19 Add a button to the form that sends an email via the Office365.SendEmail connector 16:44 Overview of licensing and permissions 17:45 Overview of how to delete a custom form Patch SharePoint Columns If you use SharePoint as a data source, you have likely encountered problems at some point while working with person, choice, and lookup columns. In Shane’s Power Apps SharePoint Complex Columns – Patch person, choice, and lookup fields video, he demonstrates how to directly patch complex column types in Power Apps using the Patch function. In this video, two approaches for patching each complex column type are shown: an intermediate way and a more advanced way. The intermediate way for patching columns is done with either a Drop down or Combo box control. The advanced way for patching columns is done with just a button. Key Timestamps: 0:00 Intro 1:42 Demo of the solution 3:43 Patch a choice column via a Drop down control– intermediate 6:12 Patch a choice column – advanced 7:19 Patch a lookup column via a Combo box control – intermediate 8:58 Patch a lookup column – advanced 10:51 Patch a person field via a Combo box control – intermediate 12:04 Patch a person field – advanced 14:06 Patch a multi select choice column via a Combo box control – intermediate 15:32 Patch a multi select choice column - advanced 17:11 Patch a current user and an additional user into a multi people field SharePoint Columns vs. Power Apps Do you use SharePoint columns as a data source for your Power Apps? When creating custom SharePoint lists, there are a few things to keep in mind that will make your life easier in the long run. In Shane’s Understanding SharePoint Columns and Power Apps video, he demonstrates how to create and name SharePoint columns. In order to avoid confusion in Power Apps, all SharePoint columns should be initially named without using any spaces. Shane also recommends that if you are creating a SharePoint list to be a data source only for a Power App, that you use the single line of text, number, and date and time columns. Keep in mind that column types matter when creating your SharePoint lists! Key Timestamps: 0:00 Intro 1:08 Create a SharePoint custom list and name the column 2:51 Rename the ‘LastName’ column to include a space 5:33 Overview of different column types SharePoint Approval Flow In certain situations, you want to be able to control the content that your users are seeing by approving that content prior to it being published. This can be accomplished through a SharePoint Approval Flow . In Shane’s SharePoint Approval Flow video, he demonstrates how to build a SharePoint list, add SharePoint approvals, and put that into an approval process in Flow. The resulting solution is a SharePoint picture library that requires approval once a user has uploaded a picture to it. Key Timestamps: 0:00 Intro 1:48 Create a picture library in SharePoint and customize the library settings 3:15 Create a flow from blank and add the ‘When a file is created’ SharePoint trigger 6:28 Add an approval action 8:58 Add a response condition 11:46 Add the ‘Get file metadata’ SharePoint trigger 14:34 Add the ‘Send an email’ action 16:01 Name and save the flow 17:17 View the approvals on a desktop, email, and mobile device
- Power Apps Attachments Video Series
In this video series you will learn how to work with attachments in Power Apps. The following 3 videos are included in this series: Save All Files with the Attachment Control - https://www.youtube.com/watch?v=Pa-pYEkLH-U Upload to SharePoint Document Library - https://www.youtube.com/watch?v=3QaiM8SeWfM&t=1428s Power Apps Azure Blob Storage - https://www.youtube.com/watch?v=wF0MmiaGO_o Working with Attachments Save All Files with the Attachment Control Do you or your users need to be able to upload and save different types of files? If you have attempted to accomplish this via the Add Media control, you know that this control only shows image files. In Shane’s Power Apps Attachment Control – Upload All Files not Images Only to Azure Blob Storage video, he demonstrates how to hack the Attachment Control to upload all files rather than image files only. The files are then saved off to Azure Blob Storage, and all of this is shown in the context of an expense report app. Key Timestamps: 0:00 Intro 1:09 Demo of the solution 2:33 Insert a blank screen and add a Form 3:50 Copy the Attachment Control from the Form and delete the Form 4:28 Edit the control in the formula bar 5:42 Manipulate the OnAddFile code 7:35 Add a gallery 11:09 Customize the appearance of the app 13:39 Preview of a different app that utilizes the Attachment Control Upload to SharePoint Document Library Uploading files to a SharePoint document library can now be made easy through Shane’s super simplified solution! Learn how to create a button that uploads a file directly to your SharePoint document library from Power Apps. This includes PDFs, word docs, excel files, images and more. In Shane’s Power Apps upload file to Sharepoint document library video, he demonstrates how to do the above with no crazy code, parsing, or hacking. Key Timestamps: 0:00 Intro 1:54 Demo of the solution 3:51 Create the solution in Power Apps and add the Attachment and Image controls 6:20 Add a button to the app and utilize the Set and JSON functions 9:16 Perform text manipulation to isolate the base64 13:53 Write a flow to get the base64 into SharePoint 18:05 Perform additional text manipulation 20:07 Demo of the final solution 21:25 Simplify the appearance of the app Power Apps Azure Blob Storage A straightforward method for storing and accessing your files in Power Apps. In Shane’s Power Apps Azure Blob Storage connector video, he demonstrates how to quickly get files in and out of Power Apps via the Azure Blob Storage connector. You’ll learn how to set up an Azure Blob Storage account, download the Azure Storage Explorer, and utilize Azure Blob Storage. Key Timestamps: 0:00 Intro 2:01 Demo of the solution 4:57 Set up an Azure Blob Storage account 8:16 Download the Azure Storage Explorer and create a Blob Container 10:51 Create a tablet app in Power Apps and add the Azure Blob Storage as the datasource 12:45 Upload a file to Azure 16:54 Create a second screen and add a gallery show the file 19:25 Add the ClearCollect function to the OnVisible property of the gallery 22:00 Add the Launch function to the OnSelect propery of an icon to have the gallery interact with other files 30:51 Add the Camera control 33:39 Set the Public Access Level in the Azure Storage Explorer